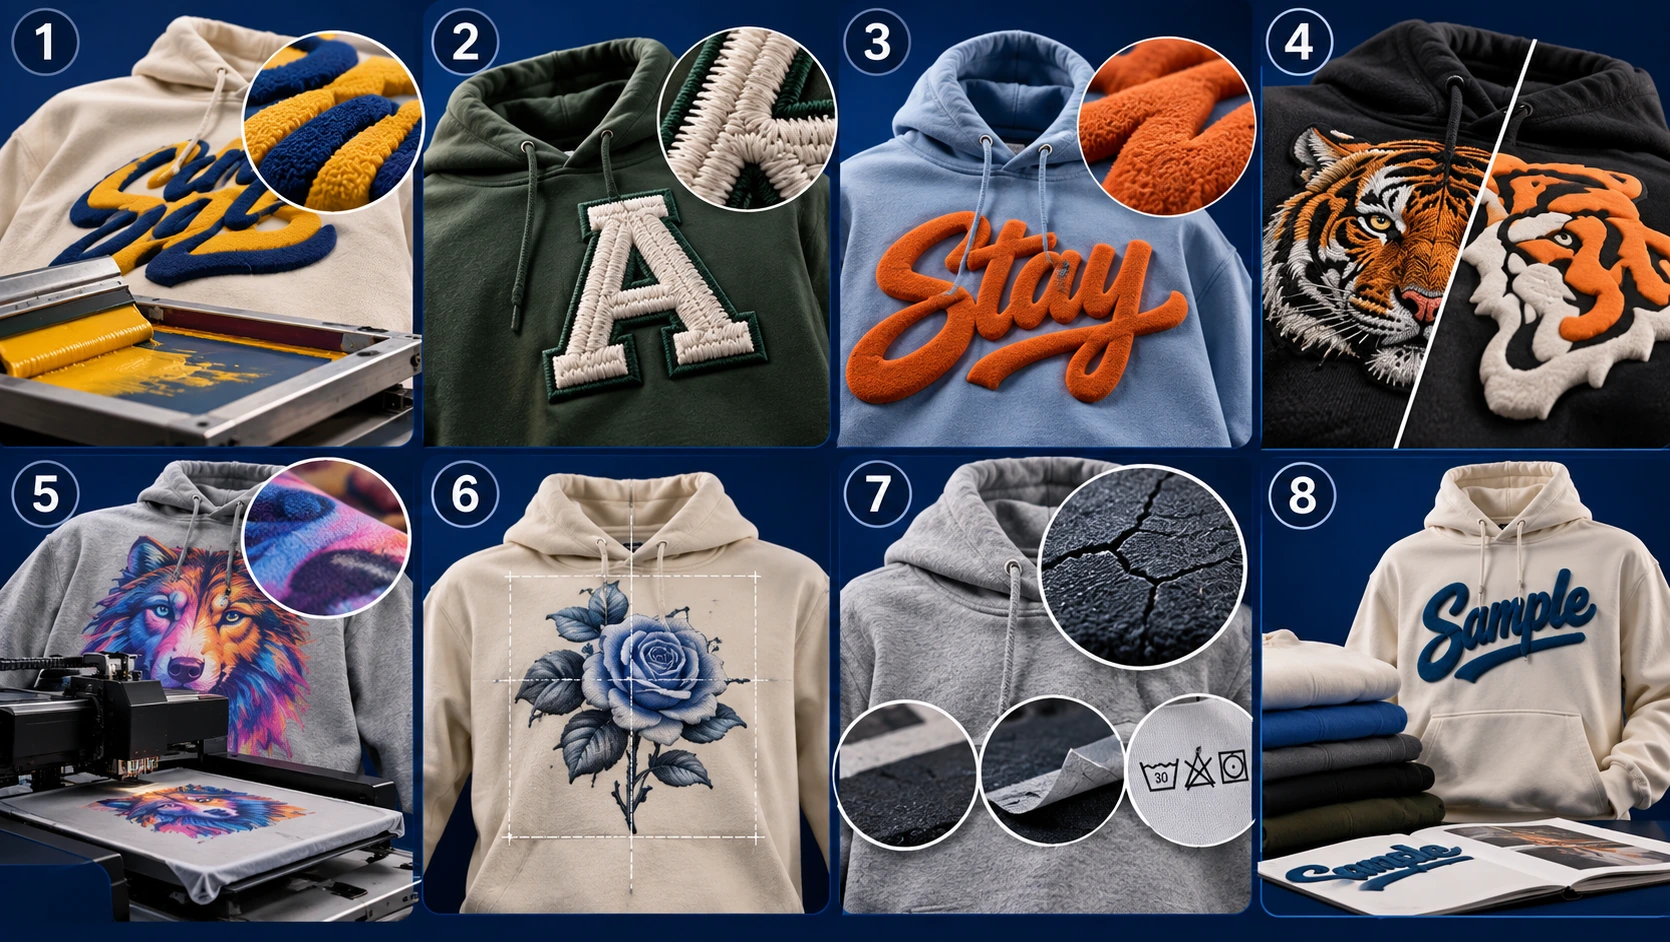

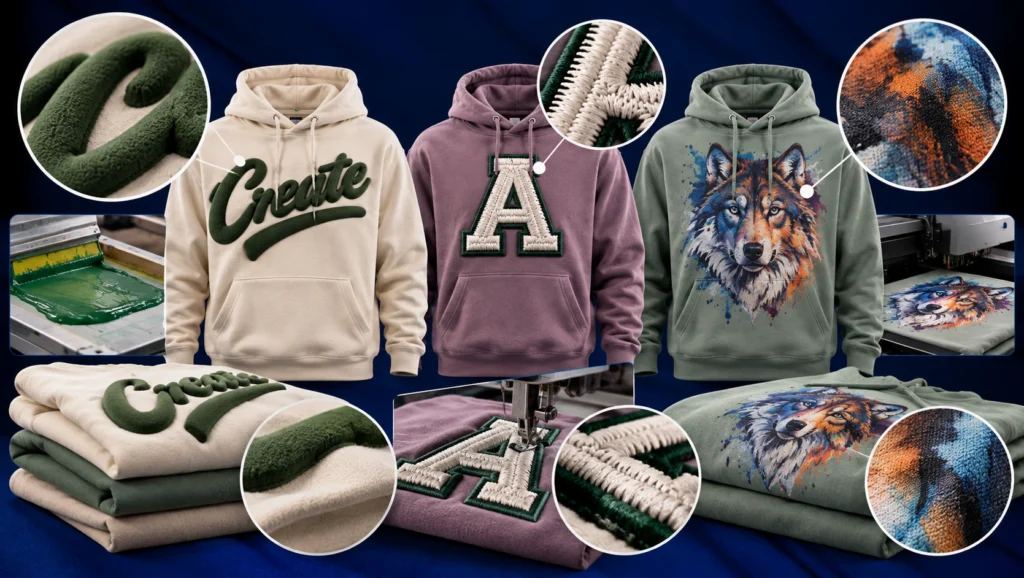
Puff print is screen printing with one change to the ink. A foaming agent is mixed into the ink, the design is printed through a screen as usual, and the heat of the curing oven makes the foam expand so the ink lifts into a raised shape. Our screen printing service page describes the same sequence and names the jobs it suits: vintage athletic lettering and bold streetwear logos. The press, the screens and the plastisol base are the same as for a flat print, so a puff print hoodie is a flat print with a heat-sensitive ink and a stricter cure, not a separate machine process.
Two details of the screen decide how the raise looks. A lower mesh count lets more ink through, and our page ties that to bold, opaque coverage. A raised shape needs the ink volume to rise, which is why puff artwork is built from heavy shapes and fine gradients belong to the high mesh screens our page keeps for photographic work. Each colour still needs its own screen, so a four colour design means four screens burned and aligned.
The cure is where a puff print is made or lost. Our page states that standard plastisol must reach 320°F (160°C) through the whole ink layer, down to the fabric, in a forced-air conveyor dryer. A heat gun dries only the top of the ink while the bottom stays wet, so the print never bonds to the fabric and breaks up in early washes. A puff ink carries a second job on top of that, because the same heat has to expand the foam evenly across the shape. We could not find an independent standard that sets a cure temperature for puff ink, so read 320°F as the figure our page gives for standard plastisol and have the ink data sheet confirm the puff mix.
If you want the wider comparison of screen printing and DTG on cost, volume and fabric, it sits in our screen printing vs DTG guide, and this post does not repeat it.
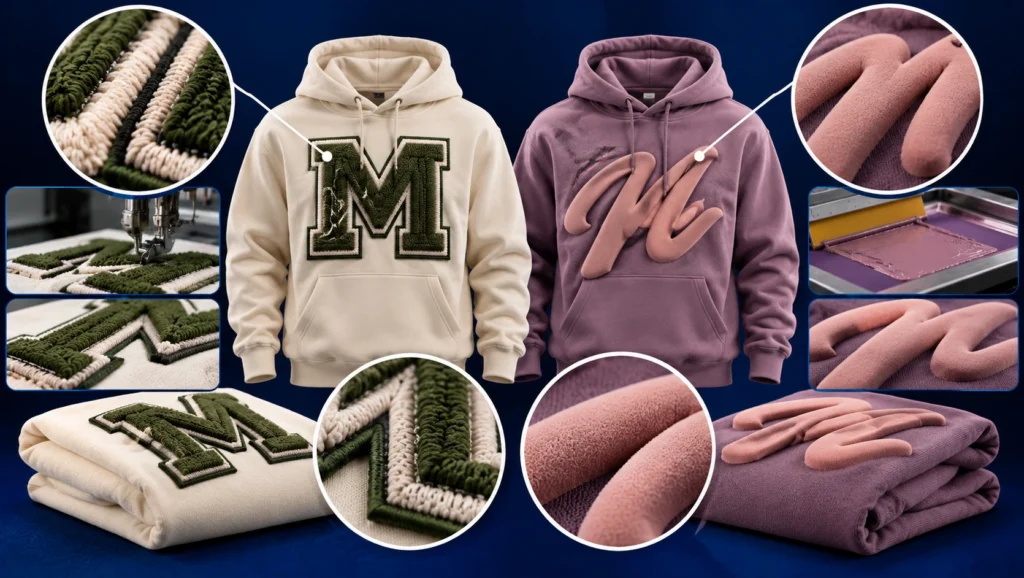
Embroidery gets called puff too, and mixing the two up is the most common spec error on a raised logo. In embroidery the raise comes from foam. Our custom embroidery service page says a 3 mm thick EVA foam sheet is laid over the fabric before stitching, the needle fires through it, and the thread encapsulates the foam. In puff print nothing sits under the design: the ink itself grows.
That changes what you send and what limits you. Table 1 sets the two side by side using only what our service pages state.
|
Detail
|
Puff print
|
3D puff embroidery
|
|---|---|---|
|
What creates the raise
|
A foaming agent in the ink, expanded by heat in the curing oven
|
A 3 mm EVA foam sheet under dense stitching
|
|
File we work from
|
Vector artwork with Pantone codes, one screen per colour
|
A digitised stitch file, with work counted in stitches
|
|
Fabric note on our pages
|
Plastisol is used on heavy streetwear hoodies
|
Kept for heavyweight fleece, structured hats and thick outerwear, not a 150 GSM tee
|
|
Fine detail
|
Thin lines and small text fill in as the ink expands
|
Letters under 5 mm tall look muddy
|
A third meaning exists: puff transfers pressed on with a heat press. Those are not on our screen printing, embroidery or DTG pages, so this guide stays with ink and foam.
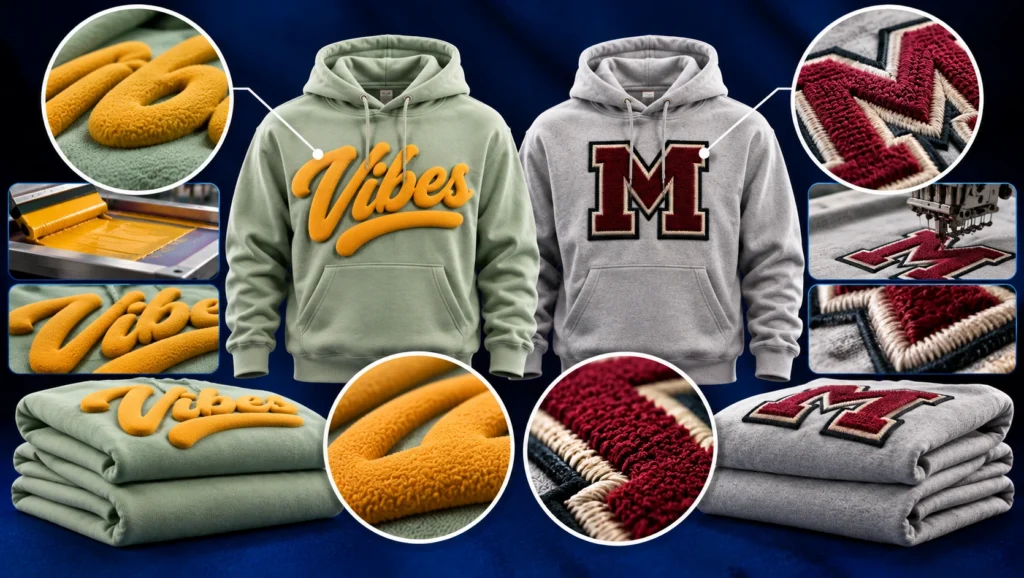
Choose puff print when the design is a large, bold shape on the flat chest or back of the hoodie. Three reasons, each tied to how the garment is built.
Weight on the knit. Embroidery is a structural change to the fabric. Our embroidery page says every needle puncture adds tension, and that a large filled area makes a garment heavy and rigid, which is why it moves oversized back logos to appliqué. A raised ink layer has no punctures and no stitches pulling on the knit, so a block of lettering across the chest puts its weight on the surface instead.
Stabiliser. The same page says embroidery on a knit needs cut-away backing so the logo does not warp when the hoodie is pulled on. A print needs no backing inside the garment, so the inside of the chest stays clean.
How the work is counted. Embroidery is counted in stitches: our page sets a 3,500 stitch left-chest logo at about four minutes against an 85,000 stitch back piece that ties up a machine head for over an hour. Screen printing front-loads its work into burning and aligning screens, which our page says is spread across more units as volume rises, so a large shape does not multiply machine time the way a large stitched fill does. We are naming the mechanism, not quoting prices.
Choose embroidery for small marks, fine lettering and spots where the mark must stay crisp. Puff ink spreads as it rises, so a small chest logo with thin strokes fills in. Embroidery is controlled by the digitiser: our page says a master digitiser plots the needle path, the underlay and the satin stitch by hand, and that text under 5 mm tall turns muddy, with a warning before that happens. It calls flat embroidery the standard for left-chest monograms and crests.
Fleece has its own fix. On thick pile, stitches sink into the fuzz, and our page says a transparent water-soluble topping keeps the thread raised, then dissolves in the first wash. That is a known answer to a known problem. Our pages give no equivalent for puff ink on pile, so test it on your fabric.
Pockets are the other trap. Embroidering over a pocket sews it shut, per our page, and the fix is to embroider the fabric panel before the pocket is attached. Keep the mark off the pocket and the problem never arrives.
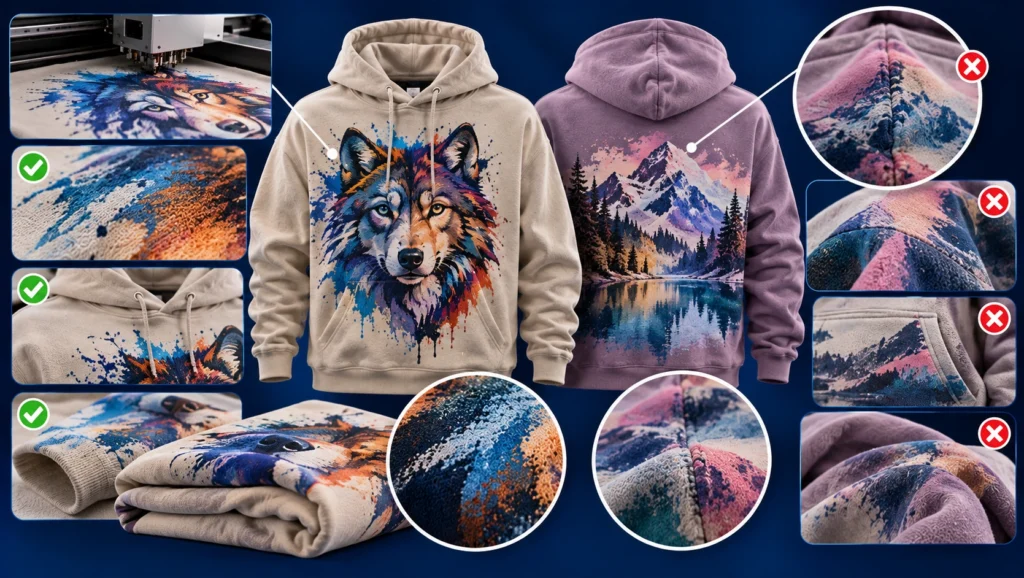
DTG is a flat print. Raised effects sit outside what digital printing does: CottonWorks, the learning hub run by Cotton Incorporated, lists no raised surface special effects such as puff among the disadvantages of both digital inkjet printing and cool transfer printing, and says rotary screen printing is where those effects are possible. If the raised logo is the brief, DTG is not the cheaper alternative. It is a different product.
Where DTG earns a place on a heavy hoodie is the detailed part of the design. Our DTG printing service page sets three conditions that matter on a hoodie. The ink bonds with natural cellulose fibres, so we require 100% cotton and route polyester blends to screen printing, which rules out many blended fleeces. The print head sits millimetres above the fabric, so it cannot print over zippers, seams or pockets and needs a flat panel. And the platen reaches 16 inches wide by 20 inches tall, which covers a full front or back panel of a heavyweight hoodie. One option for a design with a photographic back print and a raised chest mark is DTG for the first and puff for the second. Put both in the brief so each is sampled.
Table 2 sets all four methods side by side for a hoodie.
|
Method
|
Surface
|
Suits on a hoodie
|
Watch for
|
|---|---|---|---|
|
Puff print
|
Raised, soft-edged ink
|
Large bold shapes on a flat chest or back panel
|
Thin lines fill in; cure must run through the ink layer
|
|
3D puff embroidery
|
Raised foam under thread
|
Bold marks on heavy fleece
|
Heavy fabric only; cost counted in stitches
|
|
Flat embroidery
|
Flat stitched thread
|
Small logos, left chest, crests
|
Text under 5 mm tall turns muddy
|
|
DTG
|
Flat, in the fibres
|
Detailed or photographic art on 100% cotton panels
|
No raise; not over zippers, seams or pockets
|
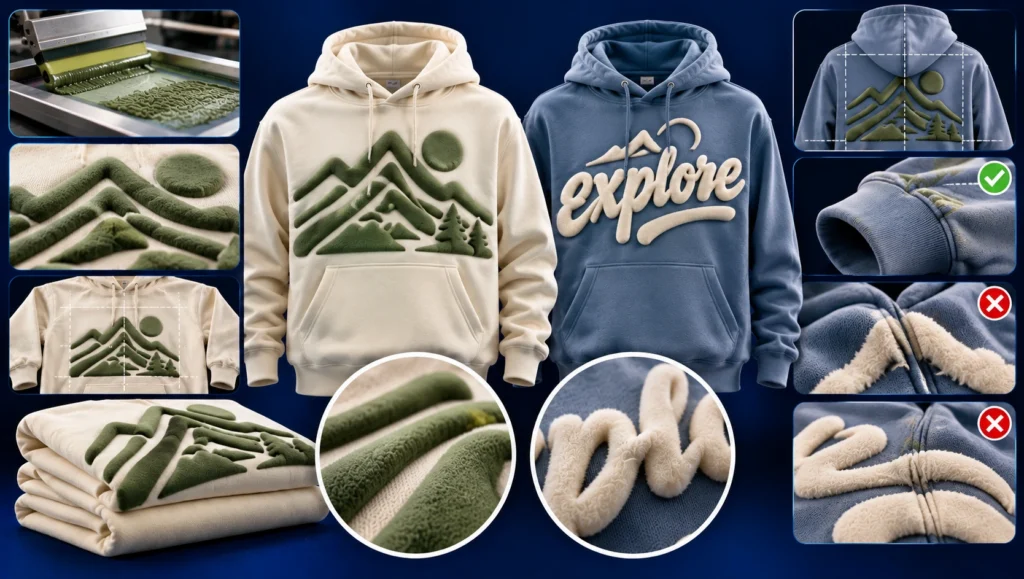
Raised ink forgives less than flat ink, so five rules go into the brief.
Bold shapes only. The ink expands in every direction as it cures, so thin lines, small text and tight gaps fill in. We have not published a minimum line weight for puff, so the sample is where you confirm yours.
Vector art and colour codes. Our screen printing page asks for vector files with type converted to outlines, and for Pantone codes on every colour, because each colour is a screen and an ink recipe.
A flat panel under the ink. Raised ink needs an even surface. A seam or a pocket edge changes the height the ink has to bridge, and the other methods already agree: DTG cannot pass over zippers, seams or pockets, and embroidery over a pocket sews it shut. Place puff on the chest above the pocket, on the back panel, or on a sleeve. On a full-zip hoodie the zipper tape sits close to a chest print, which is why zip-up versus pullover construction changes where the art can sit, and where decoration falls in the line is part of how a hoodie moves through the factory.
Away from high-flex edges. Ink bends with the knit. At a cuff or hem the knit stretches most, and a layer thicker than the knit cracks there first.
A fabric that carries the weight. A raised print adds mass to the panel, and a heavier knit holds it flat where a thin one can pucker. Our embroidery page makes the same point for foam: a 150 GSM tee cannot carry it. Test puff on the exact fabric you will order, because the surface changes how the raise looks.
A puff print fails in three ways: it cracks, it flattens or it peels. All three trace back to the cure or to the stress the garment meets afterwards.
Cracking and peeling come from an under-cure. As above, ink that dried on top and stayed wet below does not bond, so it flakes. The ink has to be fused to the fabric base, not only dried at the surface.
Flattening is heat control in the other direction. Too little heat leaves the foam under-expanded and too much can collapse it. Either way the raise you approved on a sample is not the raise you receive, so the oven setting for a puff run is a quality point you ask about, not an assumption.
What to print on the care label. Printers who publish care advice for puff print give the same lines: wash inside out, wash cold, dry on low heat or air dry, and keep an iron off the print. Print those lines on your label, because the raised layer is a thicker coat than a flat print and high heat is what it is most exposed to.
How to test it. Two standard laundering methods exist, and both measure the wrong thing for a raise if you read them alone. AATCC TM61 is the American accelerated method, and the guide linked in the first section already explains how it is run. The point for puff is what it rates: colour loss and surface change, with no mention of raised height in its published summary. ISO 105-C06 is the international counterpart: its abstract says one multiple test may in some cases be approximated by up to five domestic or commercial launderings at temperatures not exceeding 70 °C, and it likewise covers colour loss and staining, not height. So judge the raise yourself on the washed sample, and remember that five launderings is not the life of a hoodie. Our screen printing page says we pull finished garments, stretch them and wash them. Ask for the same on your puff sample, and keep the washed garment beside an unwashed one.
You can learn in 12 days whether the raise survives your fabric, your art and your wash. Our minimum is 30 pieces per design, sampling takes 12 days, bulk production takes 18 days and shipping takes 6, so the sample is where a problem costs one garment instead of a run. Write the method by name in the brief (puff print, 3D puff embroidery, flat embroidery or DTG), attach the vector art with colour codes, mark the placement on a hoodie flat and name the fabric.
Our apparel prototyping and sampling service is built to put the garment in your hand before bulk starts, so wash it, stretch it and fold it before you sign off. Should what ships differ from what was promised, you get a full refund or a free remake. And if you are weighing how a decoration interacts with the minimum, our MOQ guide explains why factories set minimums per design.
No. Puff print is screen printing with a foaming agent in the ink, and the raise comes from the ink expanding in the curing oven. 3D puff embroidery lays a 3 mm EVA foam sheet under the stitching, and the raise comes from the foam. They need different files, different fabric checks and different placement, so name one in your tech pack.
Printers who publish care advice for puff print give the same lines: wash inside out, wash cold, dry on low heat or air dry, and keep an iron off the print. Print those lines on your care label, because high heat can damage the raised layer. Confirm the final wording against the wash-tested sample.
Treat it as permanent. A cured plastisol print is a layer bonded to the fabric, and removing one is not something to plan around. The place to correct the art is the sample, before any bulk is printed.
Yes, puff transfers exist: a puff layer is made on a film or vinyl and heat pressed onto the garment. That is a different route from puff ink printed through a screen, and it is not listed on our screen printing, embroidery or DTG pages, so this guide covers puff ink and 3D puff embroidery. Ask for the method by name.
Our minimum is 30 pieces per design. Whether a particular decoration changes what we can quote for your design is confirmed at the quoting stage, so mention the method in your first message.
Not very fine. The ink expands in every direction while it cures, so thin lines, small text and tight gaps fill in. We have not published a minimum line weight for puff, so use the 12 day sample to confirm your artwork holds. If fine detail matters more than the raise, flat embroidery keeps letters clear at 5 mm tall and above, according to our embroidery page.
Mostly because the ink was not cured through its full thickness. Our screen printing page says plastisol must reach 320°F (160°C) all the way to the fabric, and a quick pass with a heat gun dries only the top layer. A thick layer stretched over a high-flex area such as a cuff can also crack, so keep art on flat panels.
Plastisol sits on top of the fabric and carries high opacity, which is why our screen printing page uses it on heavy streetwear hoodies, so dark colours are not the concern. Fleece is a test item: put the puff on your actual fabric at the sample stage, because the fabric surface changes how the raise looks.
We have not published a maximum puff print size. Two things limit it in practice: a larger raised area carries more ink and feels stiffer, and the art still has to sit on a flat panel away from seams and pockets. Our DTG page states a 16 by 20 inch platen for DTG, which covers a full front or back panel, but that is a DTG figure and not a puff limit.
Neither wins by default. Embroidery is thread stitched into the fabric and puff print is an ink layer bonded to it, and each fails when its process is rushed: a puff print when the cure is short, embroidery when the stabiliser or digitising does not suit the knit. Ask for a wash test on your sample and compare the two on your fabric.
* * *

FOUNDER & CEO AT RIJIZ