Pantone Colour Matching in Clothing
How Does Pantone Colour Matching Work in Clothing Production? Standards, Lab Dips and Approval
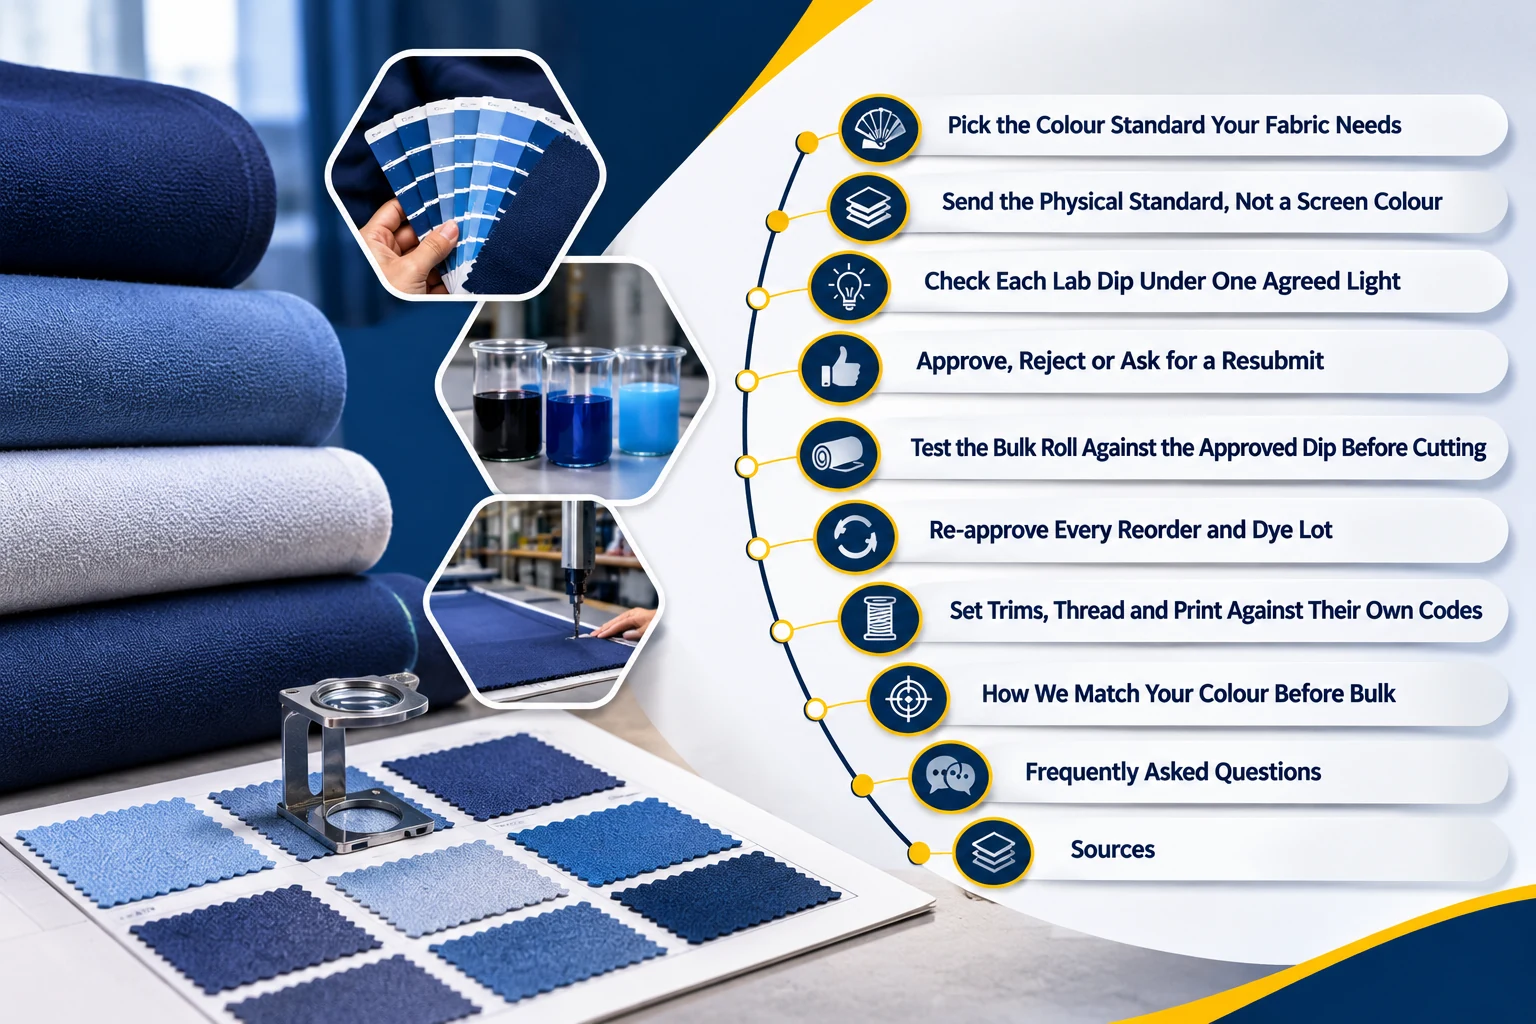
Pantone colour matching in clothing runs in a fixed order: you name a colour standard, the mill dyes a small lab dip, you approve that dip under one agreed light, and the bulk fabric should then be checked against the approved dip before anything is cut. Say a brand red comes back orange on the first sample. A likely cause is a colour that was named but never pinned to a physical standard, or a light nobody agreed. Our pre-production sampling page explains how an approved sample becomes the Golden Sample, the reference kept on the factory floor. This guide walks through the approval workflow in eight stages, from choosing the reference to holding the shade on reorders.
Table of Contents
Pick the Colour Standard Your Fabric Needs
Pantone colour matching starts with the reference, and the reference depends on the fibre. For cotton cloth, the reference to name is Pantone’s cotton swatch card, which Pantone sells under the code SWCD TCX. Pantone describes it as its cotton colour standard for apparel, textiles and soft home. Each card is a 4 by 4 inch piece of 100% cotton poplin, the set covers 2,801 Fashion, Home + Interiors colours, and the barcode on each card can be used to order the matching spectral data, which is sold separately.
Ask the factory which standard it uses for polyester and blends, because the card is a cotton standard. Our tech pack guide makes the same point about colourways: each colour needs a Pantone reference, not a name. Table 1 lists the references you will meet on a colour spec and where each one fits.
|
Reference
|
What it is
|
Where it fits on your spec
|
|---|---|---|
|
Cotton swatch card (SWCD TCX)
|
Pantone's cotton colour standard, 4 by 4 inch, 100% cotton poplin
|
Fabric reference for cotton cloth; ask which standard the factory uses for other fibres
|
|
Spectral data for a card
|
Digital colour values, ordered with the barcode on the card, sold separately
|
Ask whether the factory measures the approved dip against it
|
|
Physical fabric swatch
|
A piece of the exact cloth, supplied by the brand
|
An accepted input for fabric matching, alongside a Pantone code
|
|
Screen colour (monitor, RGB or HEX)
|
A preview, not a reference
|
A starting point only, never the approval reference
|
|
Pantone Matching System (PMS) Solid Coated code
|
The print colour code our screen printing page asks for on every colour
|
Print colours; the factory mixes the ink to this code
|
Print is a separate case. Plastisol ink sits directly on top of the fabric, as our screen printing page explains, so a print colour needs its own code rather than the fabric’s.
Send the Physical Standard, Not a Screen Colour
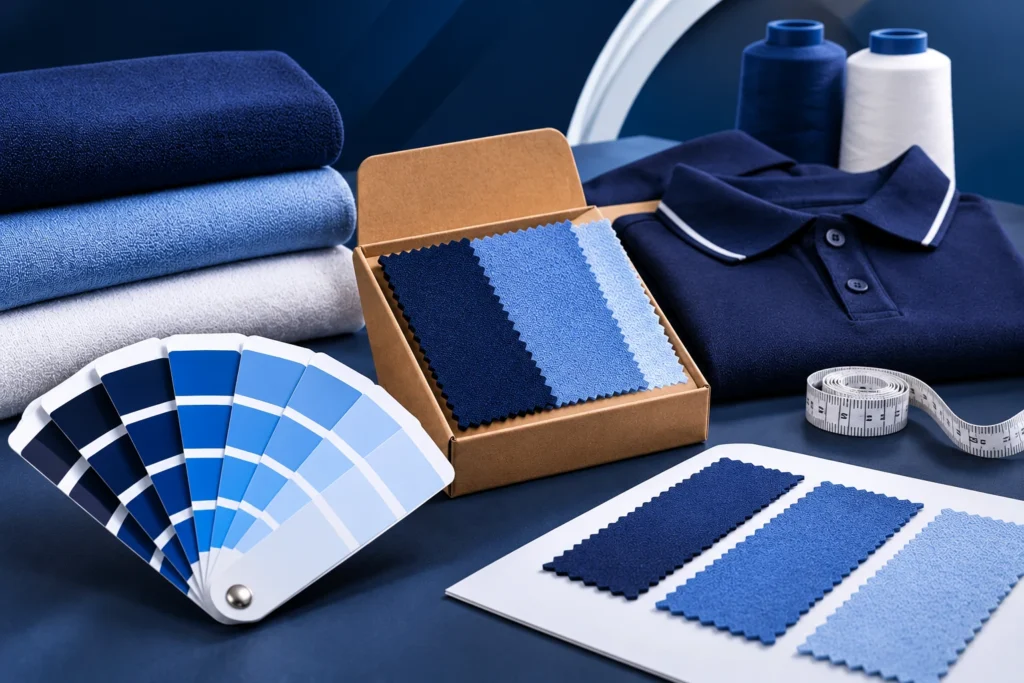
A screen is not a colour reference. The Pantone Color Finder warns that on-screen digital simulations may not accurately match the physical Pantone colour standards, so approving from a screen means approving the image, not the cloth. Send the factory the code, any physical standard you hold, and the artwork file together, rather than a screenshot with a hex value.
Our screen printing page takes the same line. It says the factory does not match colours by eye on a monitor, and it asks for the exact Pantone Solid Coated code for every colour in the design, because those codes tell the ink technicians which recipe to mix. Ask the factory to name the book each print colour is matched to, and to confirm it in writing before the screens are made.
Check Each Lab Dip Under One Agreed Light
Start with the dip. A lab dip is a small swatch dyed with the recipe under consideration, made before the full run is dyed. It is the first time the colour meets your actual cloth. Our fabric dyeing guide covers how dye chemistry is chosen, so this stage keeps to the approval steps. Our fabric sourcing page describes a small 5 by 5 inch swatch of your raw fabric, dyed with different chemical variations, so you can compare the options side by side.
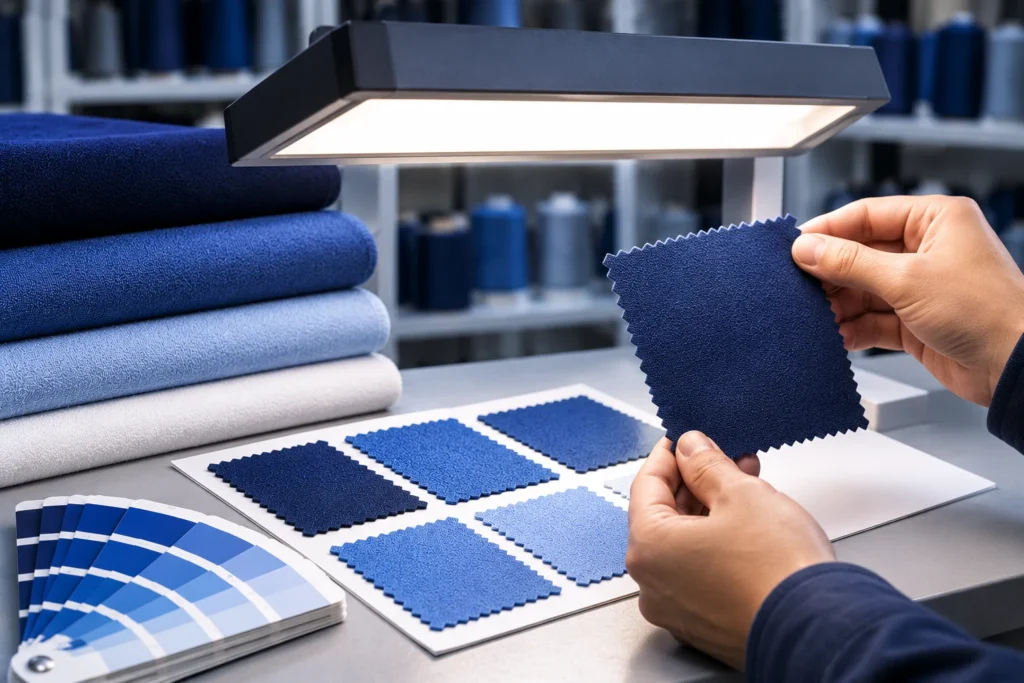
Fix the light first. The light changes how a dip looks, so settle it before the first dip arrives and write it into the approval note. Our fabric sourcing page specifies a standardised light box for approval. The technical term for two colours that match in one light and split in another is metamerism.
Measure it if you need a number. A visual check gives a judgement, and a spectrophotometer, which measures colour values, gives a figure you can record. Ask whether the lab or factory measures the dip against the standard, and record the reading next to the visual decision.
Expect more than one round. Our fabric sourcing page says a lab dip is made with different chemical variations, such as Option A, Option B and Option C. Plan a second round if none of them sits close enough to the standard, and agree the number of rounds in writing before you start.
Approve, Reject or Ask for a Resubmit
The approval is a written decision, not a verbal yes. Our fabric sourcing page says the physical lab dips and feel-swatches go to your headquarters for tactile and visual approval, so decide in advance who signs. That is usually the brand owner or the product lead, because the colour decision is theirs to make and to defend later. Our clothing sample maker page explains why sampling runs in stages: each stage exists to de-risk one specific decision before the next, more expensive one gets made.
Visual approval has a named procedure as well. AATCC Evaluation Procedure 9 describes determining the colour difference of textile specimens by visual comparison with a standard. Ask the lab which procedure its visual check follows, and write that into the approval note.
An approval has three outcomes: you approve one option, you reject all of them, or you ask for a resubmit that names the change. A resubmit should say what has to move, such as a shade that reads too dark or too yellow, rather than saying the dip is wrong. A named change gives the factory something to fix, and a general rejection gives it nothing to work from.
Table 2 sets out the fields we suggest for every approval note. It is our recommendation for what the note should hold, not a rule from a standard.
|
Field
|
What it records
|
Why it matters
|
|---|---|---|
|
Standard reference and version
|
The Pantone code or physical standard, with its date or version
|
Stops a later check against a different card or book
|
|
Light source
|
The named light box setting used for the approval
|
Lets the bulk check use the same light
|
|
Approved option
|
Option A, B or C, or a rejection with the named change
|
Ties the bulk run to one exact formulation
|
|
Approver and date
|
The name and role of the person who signed
|
Shows who owns the decision if the bulk roll differs
|
|
Instrument reading
|
The spectrophotometer result, if one was taken
|
Gives a figure to compare against the agreed tolerance
|
Write all five fields before the approval is final. A note that says only “approved” cannot be checked later, because nobody can say which option, under which light, was signed.
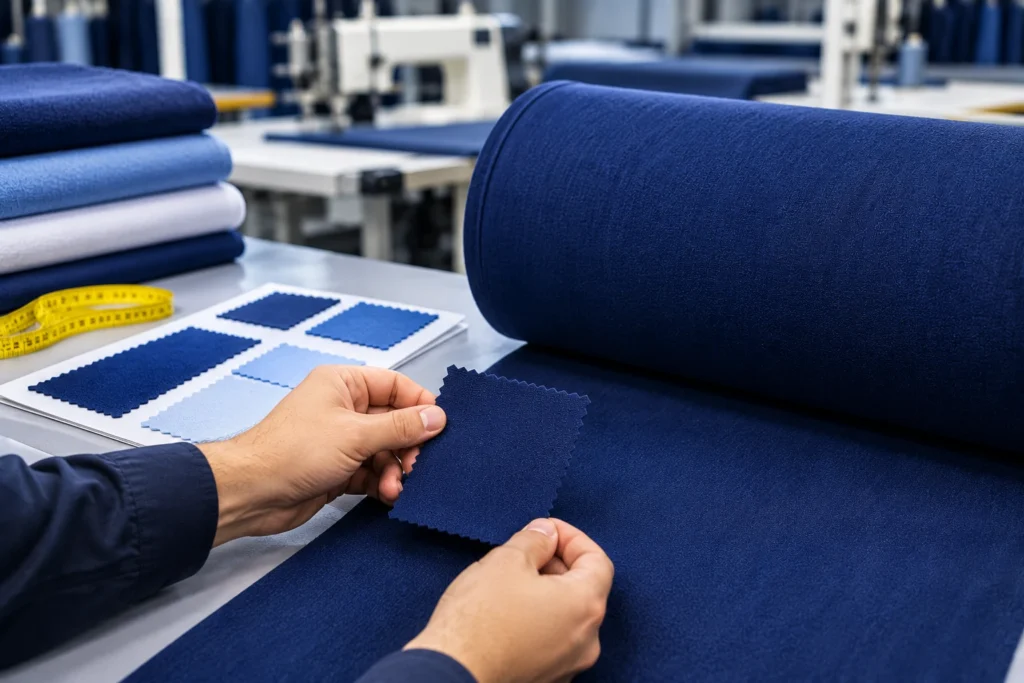
Test the Bulk Roll Against the Approved Dip Before Cutting
What the fabric checks cover. Approving the dip does not approve the bulk roll, because the roll is dyed later and can drift from the dip. Our fabric sourcing page describes two checks before bulk fabric reaches cutting. A cut square is run through washers and dryers and measured for shrinkage and skewing, and a roll that shrinks beyond the acceptable tolerance is rejected. The fabric is also rubbed with white cloth, wet and dry, in a test called crocking, and if dye rubs off, the fixation has failed and the fabric goes back to the dye house.
What to add to the spec. Those checks cover shrinkage and fastness. Write the colour comparison into your spec as its own step, so the factory checks the bulk roll against the approved dip before cutting, and name the dip, the light and the tolerance in that step.
Put a number on the tolerance. The ISO 105-J03 colour difference method calculates the colour difference between two specimens of the same material, measured under the same conditions, and it permits a maximum tolerance. The method does not set the figure for your product, so agree it with the factory before the first dip is made, and write it beside the approved option.
Write the outcome in advance. Decide before bulk what happens to a roll that misses the agreed tolerance: a corrective dye, a new lab dip, or a rejected roll. A rule agreed before the dye run is easier to enforce, because a roll that is not yet cut can still be re-dyed or sent back. Put the rule in the spec, next to the approval fields.
Re-approve Every Reorder and Dye Lot
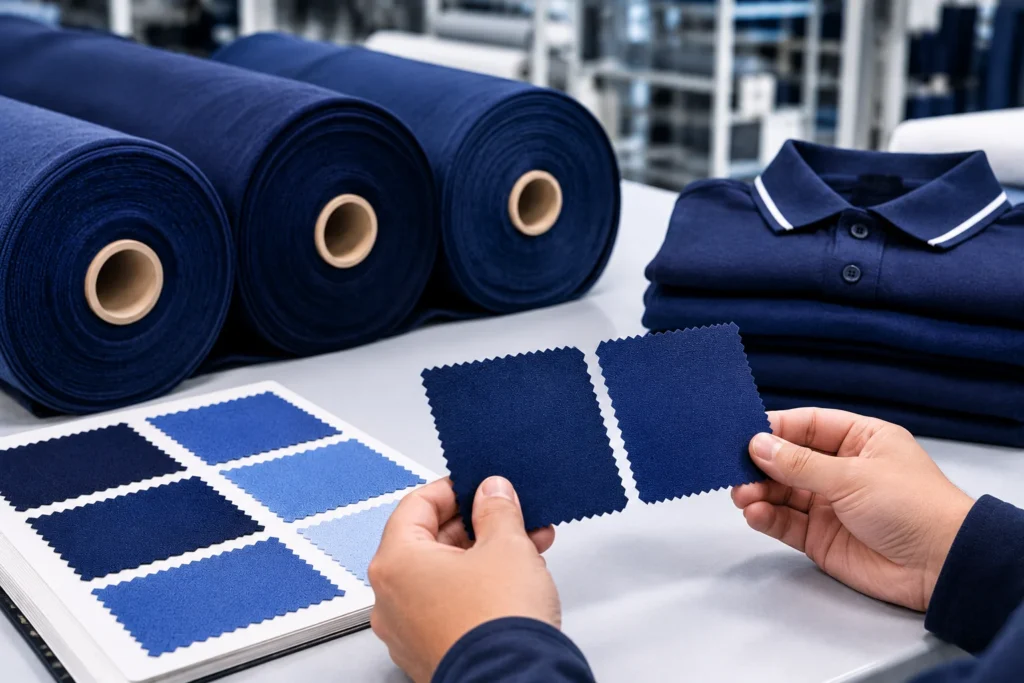
Each reorder needs its own approval line, with the same five fields as the first approval: the reference, the light, the approved option, the approver and the date. A reorder that points back to an old email has no record of its own, so nobody can say which standard it was checked against. Keep the same signer and the same light where you can, because a different signer or light makes the two decisions hard to compare.
Custom colours can carry their own minimum. Our fabric sourcing page says a custom dyed run typically requires a minimum of 300 to 500 kilograms of fabric per colourway. That is a fabric minimum and sits apart from our minimum of 30 pieces per design. Ask before you plan a small top-up of a custom colour, so you know whether the top-up needs a full dye run.
Print reorders follow the same rule. The Pantone Solid Coated codes on your artwork brief are the reference for the ink, so a reorder that changes the artwork needs those codes checked again before the screens are made.
Set Trims, Thread and Print Against Their Own Codes
A fabric code does not cover the rest of the garment. Trims, thread and print each need their own colour reference. Our tech pack guide asks for a colour on every trim in the bill of materials, because an unspecified thread colour becomes a decision made on your behalf.
Thread comes from its own shade range, so the closest thread on the card may be the best match on offer, not an exact Pantone match. Ask for the thread to be shown against your approved fabric swatch before it is ordered, and approve the pairing in writing.
Print adds a separate risk. On polyester, dye can rise into the ink when the garment goes through the curing oven. Our screen printing page says a grey poly-blocking underbase ink is used to stop it, and gives the example of a white logo turning pink on a red shirt. Check the print on the real garment colour, not on a blank swatch, because the base colour is part of the result you approve.
How We Match Your Colour Before Bulk
Send us your Pantone TCX code or a physical colour swatch with your tech pack. Our fabric sourcing service takes that standard to the dye house and formulates a custom chemical recipe against it. We send physical lab dips and feel-swatches to your headquarters, and we only go ahead with bulk dyeing once you approve the exact chemical formulation under a standardised light box.
Once the lab dip is approved, the bulk fabric goes through the shrinkage and crocking checks described above before it reaches our cutting room. Our prototyping page says the pre-production sample is built from the exact bulk fabric, hardware and machines used for the run, and once you approve it, it becomes the Golden Sample that sits on the factory floor beside the tech pack.
Print colours follow the same logic. Our screen printing service needs the exact Pantone Solid Coated code for every colour, because the ink technicians use those codes to mix the recipe.
Our minimum is 30 pieces per design, sampling takes 12 days, bulk production takes 18 days and shipping takes 6 days. We are ISO 9001 certified, and if the finished order does not match what was agreed, you get a full refund or a free remake. Start with your tech pack and colour references, and our sourcing engineers will review your tech pack for free.
Frequently Asked Questions
No. A cotton fabric code is not the reference for ink. Our screen printing page asks for the exact Pantone Solid Coated code for every colour in the design, because the ink technicians mix the recipe from those codes. Send the codes with the artwork file, and ask the factory to name the book each print colour is matched to.
Each fibre takes dye through a different chemistry, so the mill builds a different recipe to reach the same reference. The code tells the dye house what to aim for, but the fibre decides how the dye sits in the cloth. That is why an approved lab dip on your exact fabric matters more than the code alone.
It can be, and it gives you a number to record. ISO 105-J03 is a calculation of the colour difference between two measured specimens, and it permits a maximum tolerance to be set. Ask the factory whether it takes the reading, and record the result in the approval note next to the visual decision.
The person who owns the colour decision should sign, which is usually the brand. Our fabric sourcing page sends the physical lab dips and feel-swatches to the brand's headquarters for approval, so the signer needs access to them. Write the name, role and date on the approval note, so the bulk run has one named approver to check against.
Both, because they test different things. The lab dip approves the colour recipe on your fabric, and the pre-production sample shows that colour on a finished garment. Our sampling page says the pre-production sample is built from the exact bulk fabric, so it is the check closest to the bulk run before production starts.
No universal number applies, because ISO 105-J03 provides the calculation and permits a maximum tolerance, but it does not set one for you. Agree the figure with the factory before the lab dip is made, and write it into the approval note.
No standard we checked sets a number, and the count depends on how close the first set comes. Our fabric sourcing page says a lab dip is made with different chemical variations, such as Option A, Option B and Option C. Ask the factory for its expected number of rounds in writing before you start.
Only if the factory confirms in writing which reference the chip matches for your cloth. Pantone's cotton swatch card is the cotton colour standard, and a paper chip is a separate reference that needs its own check. Ask the factory to show the chip against your approved fabric swatch before you rely on it.
Agree the outcome before bulk starts, because a rule written in advance is easier to enforce than an argument after the roll is cut. The options are a corrective dye, a new lab dip, or a rejected roll. Our fabric sourcing page describes rejecting a roll for shrinkage beyond tolerance and sending fabric back to the dye house when crocking fails, so colour should have an equally clear rule.

FOUNDER & CEO AT RIJIZ
Send us a message
Latest Post